


You can quickly change an object's display using its shortcut menu: Right-click the model, load, or result symbol. Use the Display Properties to open the dialog box showing the display parameters of the object (see the Display Properties dialog box).
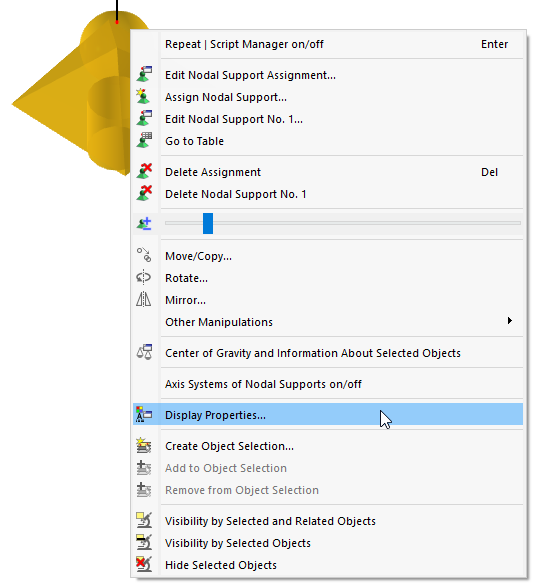
It is also possible to open the "Display Properties" dialog box in the Options menu.

The settings are managed separately for the display on the "Screen" and in the "Report". This enables separate adjustments for the monitor graphics (for example, the size of the support symbols with a black background) and for the printout. You can use the
![]() button to synchronize the display properties for the screen and report.
button to synchronize the display properties for the screen and report.
The "Category" navigator shows all graphical objects in a directory tree. To change the display properties of a symbol, select the corresponding entry in the tree. Then, you can adjust the object-specific display parameters in the main dialog section: color, line display, size in work window, type and alignment of numbering, font, size of load vector, and so on.
The default setting is a black background. If you select a light background color, you should accordingly adjust any standard objects that are light in color.
You can quickly activate the default settings for a white background using the
![]() list button at the bottom of the dialog box. This option is described in detail in FAQ 005360.
list button at the bottom of the dialog box. This option is described in detail in FAQ 005360.
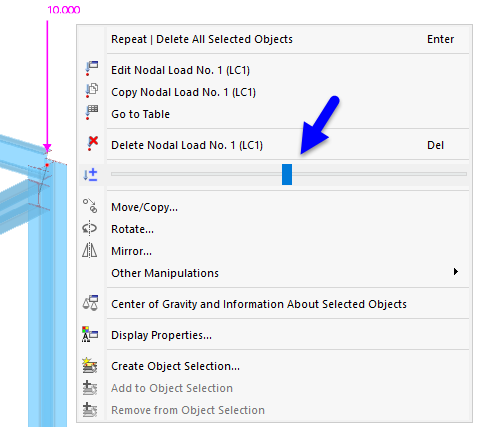
In the object shortcut menu, you can control the display size directly with a slider.
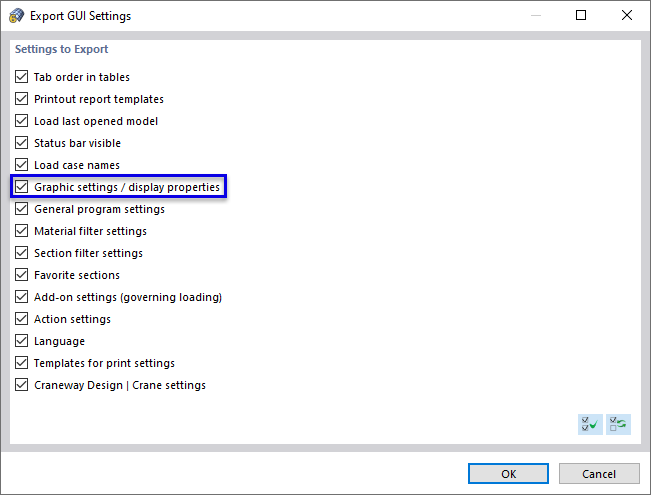
Saving Display Settings
You can save the modified display properties by using Options → Export GUI Settings in the menu. Make sure that the Graphic settings / display properties option is selected in the "Export GUI Settings" dialog box.
After clicking OK, the "Select file" Windows dialog box appears. Define the storage location and enter a file name. A configuration file in the format *.rf6.gui is created when you Save.