Creating Printout Report
To create a new printout report, use one of the following options:
- Click New Printout Report in the File menu.
- Use the
 button in the toolbar.
- Use the shortcut menu in the "Navigator – Data".
The "Printout Report Manager" dialog box appears. Define the content that you need in the document. The functions are described in the chapter Printout Report Manager. Use the Save and Show button to create a print preview of the printout report.
Opening Printout Report
To open an existing printout report, double-click the entry in the "Navigator – Data".
It is also possible to select a printout report in the "List" of the Printout Report Manager dialog box and to open it with the Save and Show button.
Printer Setup
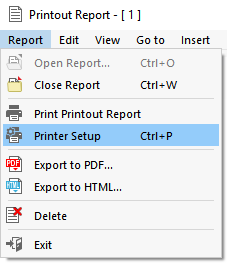
In the printing settings, you can select a printer and adjust the layout of the printout report. Open the corresponding dialog box by clicking Printer Setup in the Report printout report menu.
The first tab of the "Printer & Page Settings" dialog box manages the printing settings. The remaining tabs are described in the chapter Detail Settings.
The Windows standard printer is preset. You can select a different printer in the list of the "Name" line.
If you do not want to print all pages, you can restrict the "Print Range". To print several "Copies", change the preset value.
The following output formats are available in the "Paper Orientation" list:
- Portrait
- Landscape
Printing Printout Report
To send the printout report to the printer, click Print Printout Report in the Report printout report menu (see the image Printer Settings). The printout starts immediately, using the settings stored in the Printer & Page Settings dialog box.
You can also start printing with the Print button in the Printer & Page Settings dialog box.
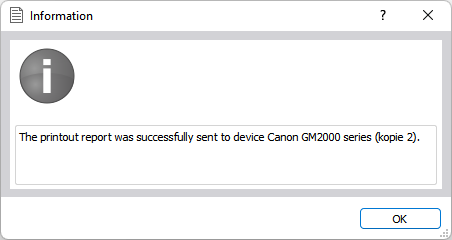
If the printout report was successfully sent to the printer, a corresponding message appears.


