There are two options for starting RWIND 2. The program can either be run directly or applied indirectly from the RFEM 6 or RSTAB 9 applications.
RWIND 2 Program
Double-click the RWIND 2.xx icon on your desktop to start the program.
When you open one of the model examples provided by the installation, the program window will appear as shown in the image RWIND 2 program. The most important areas of the user interface are tagged with their descriptions.
RFEM 6 / RSTAB 9
Open a model file in RFEM 6 or RSTAB 9. Then, use the
![]() button to open the "Base Data" dialog box. Alternatively, select Base data in the File menu. If you create a new model, the "Base Data" dialog box opens automatically. Select the Add-ons tab of that dialog box.
button to open the "Base Data" dialog box. Alternatively, select Base data in the File menu. If you create a new model, the "Base Data" dialog box opens automatically. Select the Add-ons tab of that dialog box.
To activate the RWIND 2 add-on, select the Wind Simulation option in the "Special Solution Add-ons" section. A green dot next to the name symbolizes that a license is available for the RWIND 2 add-on. An orange or blue dot means that you can use RWIND 2 in the demo mode or as a trial version with limited functions.
Wind Simulation Analysis Settings
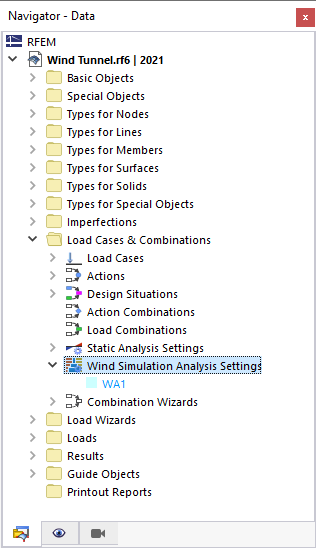
In the "Load Cases & Combinations" folder of the navigator, the Wind Simulation Analysis Settings item has been added. It manages the different settings for the wind analysis (WA) that you can define for your model.
The "Edit Wind Simulation Analysis Settings" dialog box is described in Chapter Wind Simulation Analysis Settings.
Wind Simulation Analysis Type of Load Case
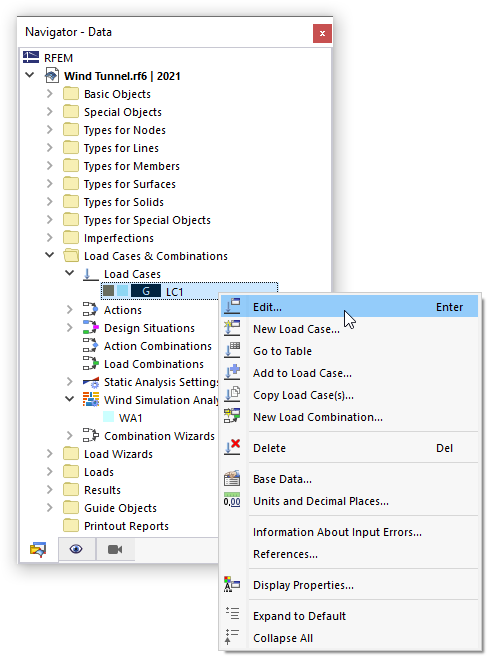
To perform a wind simulation analysis of a load case, allocate this specific type of analysis to it. Open the properties of a load case by double-clicking it in the navigator. Alternatively, use its shortcut menu.
In the "Load Cases & Combinations" dialog box, select the Wind Simulation option from the "Analysis type" list.
This adds the "Wind Simulation" and "Wind Tunnel" subtabs where you can define the data for the CFD analysis. They are described in Chapter Wind Simulation.


